| “ | The theater kids are putting on a show for you: The evil goblin king has stolen Coach's Golden Trophy. Team up with your friends and embark on an epic quest to recover it! The Quest is an all-new, built for VR, co-op dungeon crawler inside of Rec Room! Word of warning: Quest is hard... Brutally hard with four players. Practically impossible alone! | ” |
— Rec Room Inc.
|
Gallery[]
- 📷 For concept art and more, see: Image Gallery.
About[]
In The Quest for the Golden Trophy, 1 to 4 players use medieval weaponry to team up and fight through 9 acts of fantasy "monsters" put together by the art department. Successfully completing all 9 acts and defeating the final boss rewards each player with a chest containing one item from the Golden Trophy Cosmetic Sets, the rank of which is determined by your Quest Rating.
The #RecRoomOriginal room ^GoldenTrophy is a #pickup room, i.e., teleporting and "walking" VR players as well as Screen Mode players may play in the same room.
The story of this quest is continued in The Curse of the Crimson Cauldron.
A mini-update in December 2018 added back holsters to the game. This allows players to carry a weapon in each hand plus one on their back.
Community Gameplay / Tutorials[]
S RANK!!! - Rec Room VR - Quest For The Golden Trophy - S Rank YouTube video by Shark Gamer |
 Rec Room- Golden Trophy Solo Tutorial |
Walkthrough[]

Golden Trophy Armory
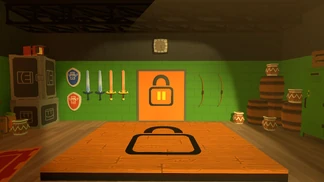
After gathering your team in front of the theater stage, one of you has to activate the "Start" button by pointing at it with a virtual laser pointer and pulling the trigger of your controller. You start your quest in a dressing room (similar to that of The Rise of Jumbotron) with a mirror on the left wall and some decor and gold pots, as well as 2 shields, 4 swords, and 2 bows on the back wall. Pick up your weapons and exit this room by gathering all players on the platform and teleporting through the door at the back wall. This will take you to:
ACT 1 contains sword-wielding goblins. Like all enemies, they will kill you in one hit, though you can block their swords with a shield. Hitting a goblin with an arrow knocks it over and renders it unconscious for a short moment. Dead players can be revived by a high five with a player who is still alive. However, if all players are dead, all is lost and the players will teleport back to the theater stage. The goblins appear in small groups, mainly as a way of guiding you into the game and how it works. You can smash the pots sitting around for extra gold. Multiple waves of goblins will spawn in the final room so caution is advised. Clearing the area of monsters will cause a distinct tune to sound which signifies that you can move on.
ACT 2 introduces imps, small creatures with a flying mechanism attached to them as well as a cannon that shoots slow fire orbs, similar to those of the tread bots in The Rise of Jumbotron. Like goblins, shooting them with an arrow renders them temporarily unconscious and makes them fall to the ground. Off to the right in the second room is a small room which contains 4 large pots and a crossbow, which is slower than the bow (it needs time to fully charge while you pull the trigger) but powerful, and only requires one hand to operate; thus, you can combine it with a sword, shield, or another crossbow in your other hand. There are a few waves of monsters and imps which will spawn behind you, so watch your back. Staying at the bottom of the ramp is an ok strategy because not many monsters spawn there but Imps and Goblins will spawn on top of the ramp and may overwhelm you.
ACT 3 features a large stone boulder that you can roll down ramps to kill groups of enemies. There isn't much to explain in this one. Just kill the monsters and make sure to keep an eye on the rooms behind you since some imps will spawn there.
ACT 4 is a large open room where the floor is mostly lava with some bridges. It also introduces barrel knights, a large goblin that wields a halberd. Barrel knights move slowly, pause to aim, then charge rapidly towards where they aimed at. They can be killed by hitting the target on their back multiple times with any weapon. Imps will spawn in the back area above the lava (they can be killed in one hit as they will fall into the lava), with goblins spawning from every side except for the exit door. This makes camping near the exit door a viable strategy; however, there isn't much space to hide in. The absolute best strategy for this is to spawn the first waves of Goblins and run back to the spawn area you have ample time to kill the Goblins and Imps.
ACT 5 starts out with a split path. It introduces the elite variants of the imps and goblins. The elite goblins do not get stunned by arrows so archers may have trouble dealing with them. Elite imps will still fall to the ground upon getting hit; however, they shoot 5 fireballs at the same time in different directions. A recommended strategy is to go to the right, take out all the enemies there, then cut straight across to the left side. If you shoot the enemies in the left side without entering the room, it won't spawn extra enemies and you will still be able to complete the stage. Finally, you kill the rest of the enemies near the exit door. There are many elite goblins and imps, and at some point 2 meelee goblins will spawn behind you. It is recommended to get up on a high platform and find a wall/pillar to hide behind. If you use a sword, there is plenty of room behind you to camp at.
ACT 6 is a library that has many enemy types spawning in waves in different rooms, as well as the elite variant of the barrel knight, which spins instead of charging. Caution is advised as they come from nearly every side including from behind you. Staying together in a corner is one possible strategy, but might get the whole team killed by a spinning barrel knight. A very possible strategy is to hop on a bookshelf. Do use this strategy wisely and with caution as the Barrel Knights and Imps can still hit you. The safest spot is the room to the right, but enemies can still spawn there. The left side is also safe but if you enter that room, 2 elite goblins will spawn on top of you. There is also a raised platform with a ramp, that can be used as a high ground to escape some enemies, but the enemies can still get up there.
ACT 7 is an easier level that features a small maze in it. At the beginning it is recommended to get on a high platform to shoot the enemies with a ranged weapon, but with a sword it is recommended to stay back because enemies could spawn on top of you. There is one part where enemies will spawn far behind you and you will have to move back and forth before you move on. There is a mini maze part that features a barrel knight and some enemies that have a chance of spawning behind you and in front of you. The end features a larger room with elite imps and goblins, but there is more than enough room to move back and camp.
ACT 8 is a large open room that is half filled with lava and half normal wood. There is a trigger zone at the top of the ramp at the spawn area. The first wave consists of 1 Elite Goblin and 4 Basic Goblins. Upon killing this wave, you will spawn 3 Elite Goblins and 2 Basic Goblins. Proceeding forth, there will be a spawn of 2 Elite Flyers and 2 Regular Flyers that can be placed over the lava or in the back corner. After this, you will encounter 5 Elite Goblins that spawn around the room. Once you're done with that wave, you will be face to face with 2 Elite Barrel Knights if you are at the spawn area or at the back right corner of the room. Proceeding forth, there will be a decently tough fight involving 2 Basic Barrel Knights and 1 Elite Flyer. The final wave of this level consists of all the previous enemies spawning around the room in any orientation of their choosing. Upon killing the last enemy, you will as usual be able to teleport to the next room.
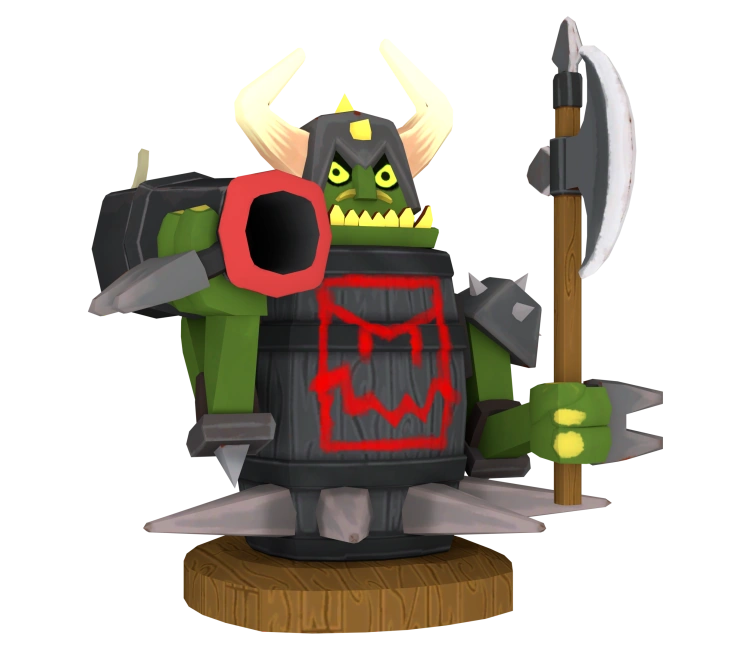
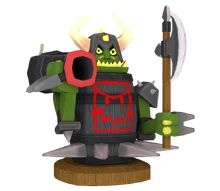
The Goblin King!
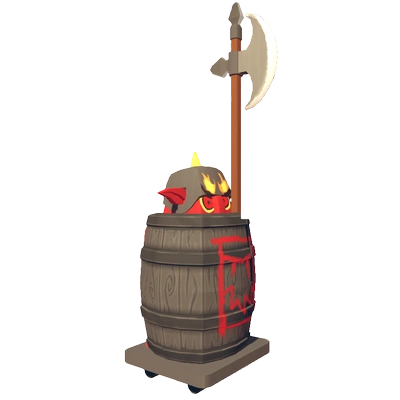
ACT 9 (also known as the finale) is the final room, containing the Goblin King! He is essentially a barrel knight wielding an axe and a large version of an imp cannon which fires 3 large orbs around the player that he sees. It is almost impossible to defeat him using a sword, so a bow or crossbow is needed, which can be found on the high platform. In order to defeat the Goblin King, you must shoot the target on his back many times. He will turn around and shoot at the person who hit him, unless he is being distracted or your head is hidden from view. Distracting him is easiest with dual shields, as you can constantly stun him while a teammate drains his health. This method can frequently kill the Goblin King before enemies can react. While fighting, 3 waves of enemies will spawn in various corners of the room depending on how low his health is, so stay alert. Upon killing him all other enemies will die and each player will receive a treasure chest (unless they already unlocked all items), containing cosmetics that are based on the Quest Rating of your team as explained next. Staying to the right of the Goblin King as well as staying on the raised platform is advised as the enemies will spawn in all areas of the room, and it helps to put yourself in a place where they only have 1 path to reach you.
Weapons[]
")
")
")
")
Enemies[]
| Image | Name | HP | Description |
|---|---|---|---|
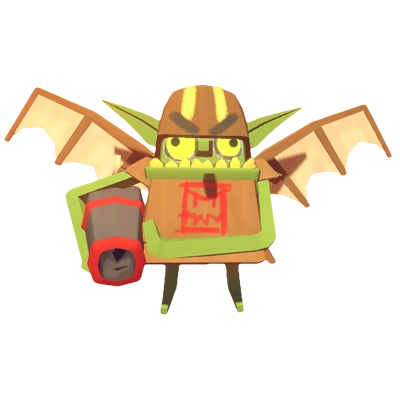
|
Melee Goblin | 100 | Mindlessly moves towards the player and gets stunned by shield and arrows. |
|
Imp | 100 | Shoots single fireballs towards the head players. If it dies, any fireballs that belong to it do not affect you.
Can also be stunned like the Melee Goblin. |
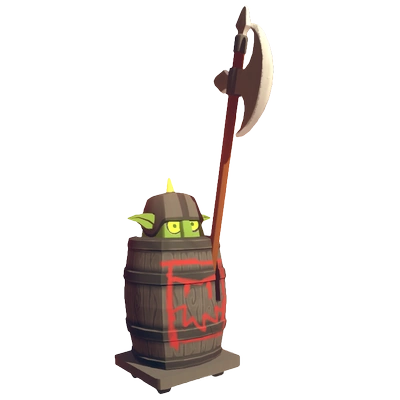
|
Barrel
Knight |
250 | Lowers its axe and charges at high speed towards the direction it was facing. It can be killed by hitting its back. |
|
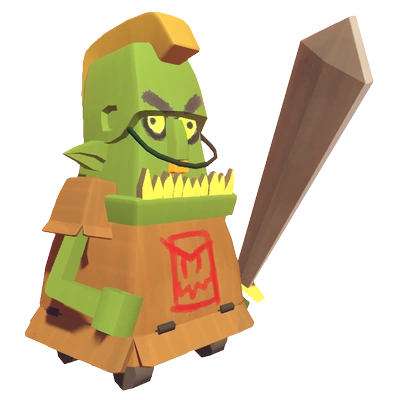
Elite Goblin | 200 | They are faster and bigger than the Melee Goblins. They are not stunned by arrows. |
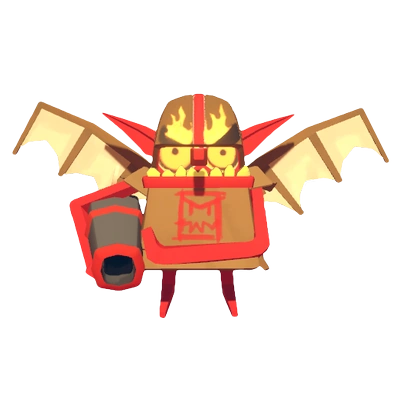
|
Elite
Imp |
200 | Fires a burst spread of 5 fireballs and is knocked over by arrows. They are also bigger and faster than normal imps. |
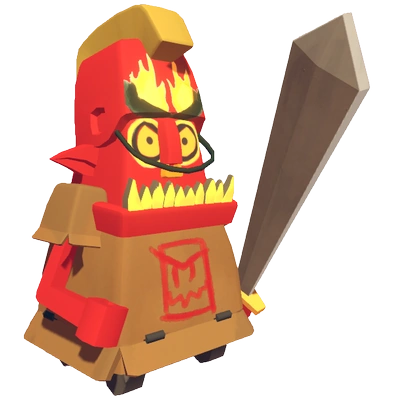
|
Elite
Barrel Knight |
333 | Lowers its axe and spins when in range of a player. It can be killed by hitting its back. |
Scoring[]

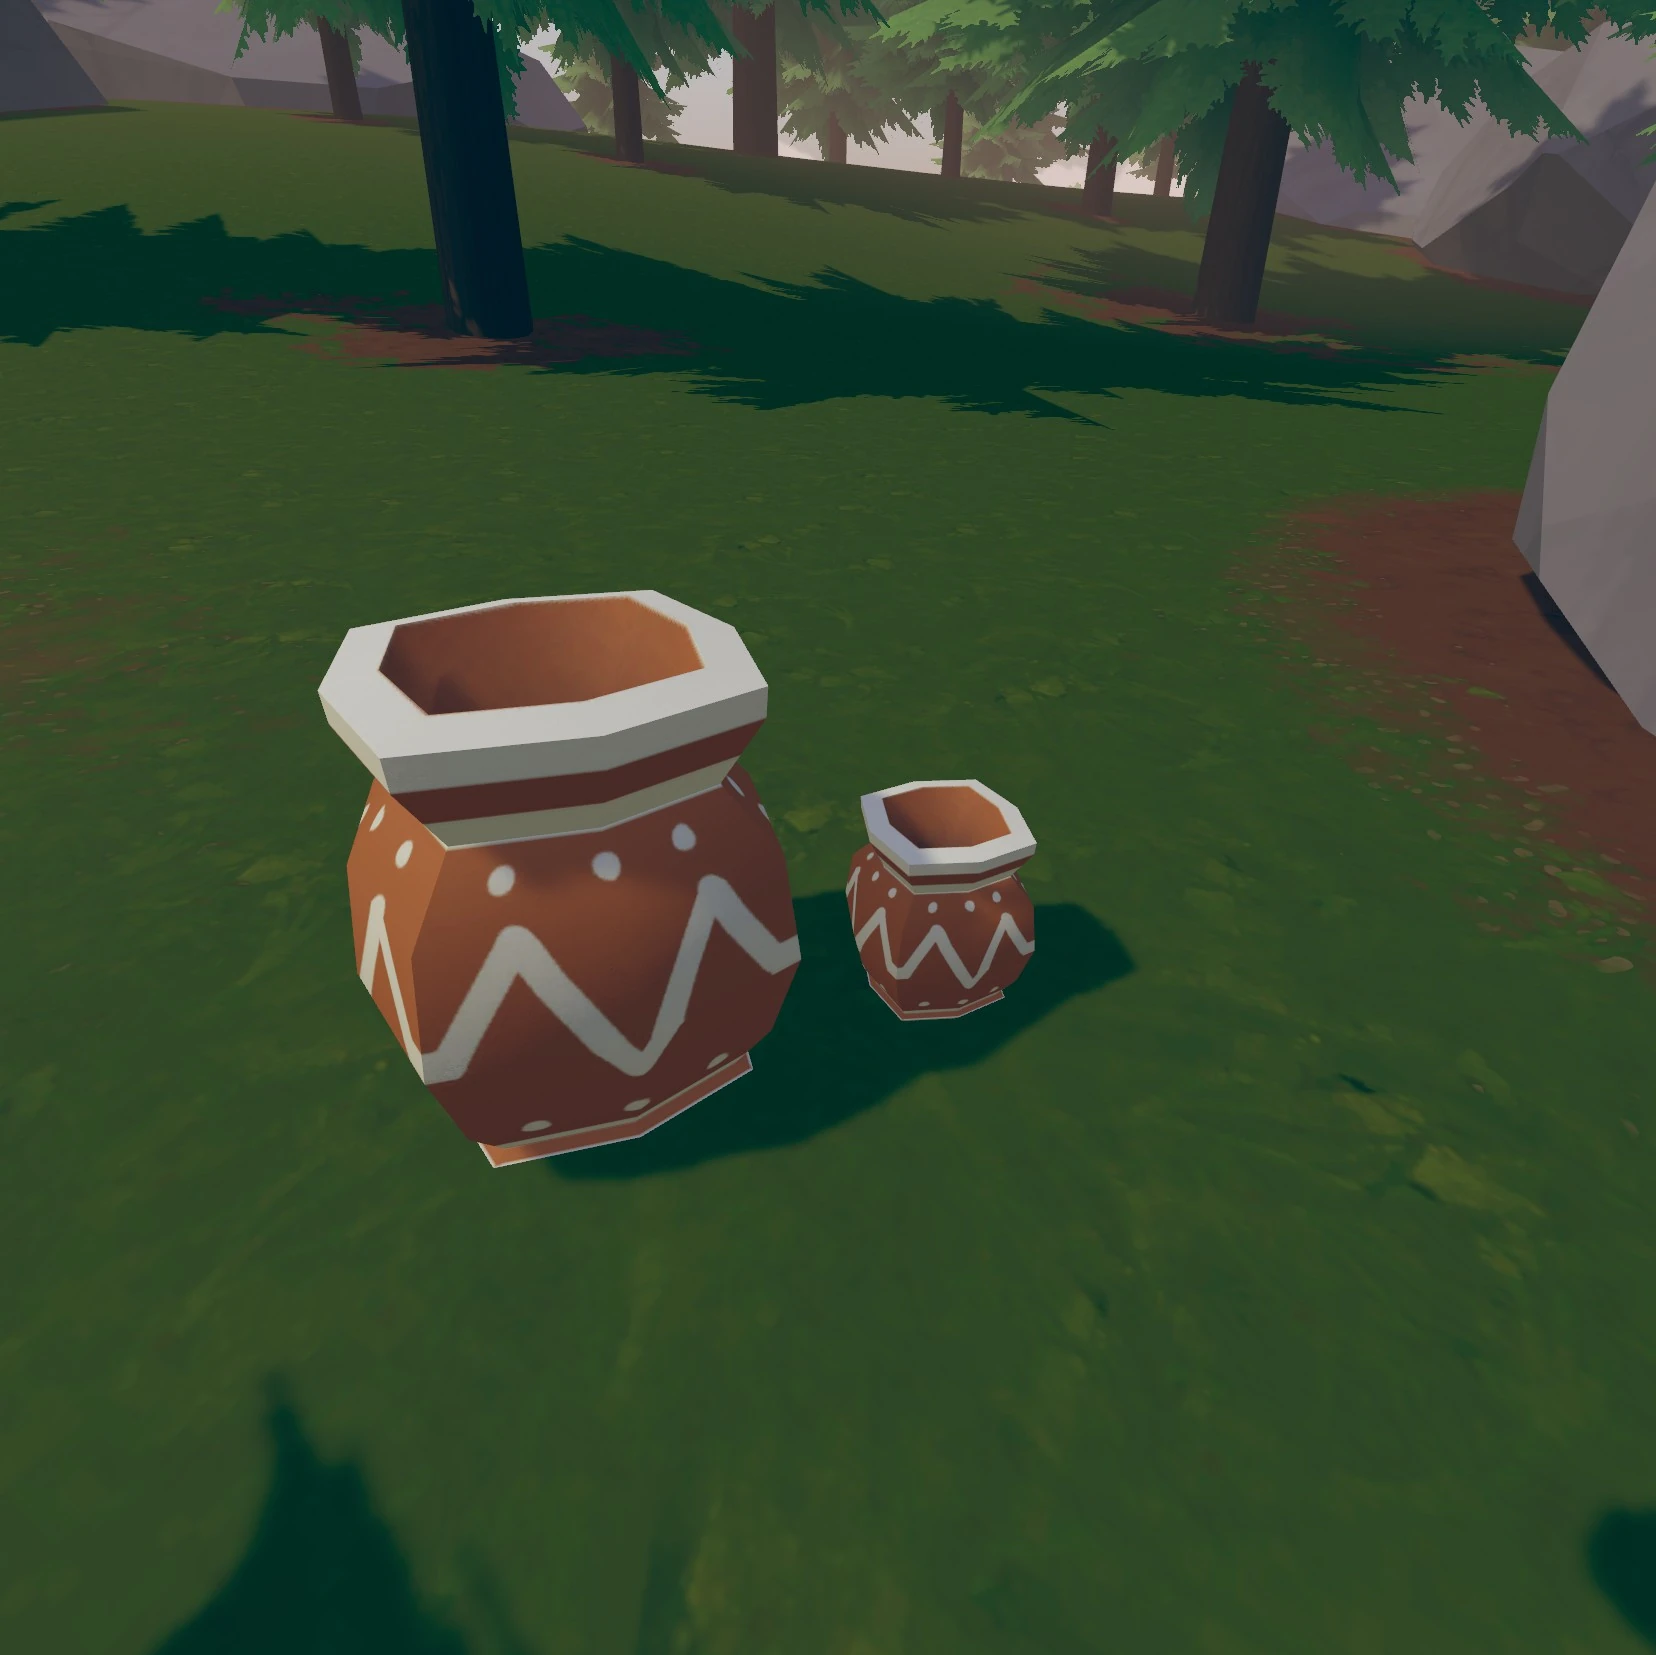
Two pots
Scoring in Golden Trophy is very straightforward. Points pop up in the form of gold when you earn them.
Breaking pots (by hitting or dropping) gives you gold, though significantly less than gold earned from killing enemies. All gold goes directly to your point total the moment you earn it.
Breakable Pots Point Values:
| Small Pot | 50 |
| Large Pot | 100 |
Dying to an enemy or friendly-firing a teammate costs you 2,000 points.
Contributing to killing an enemy gives you gold proportional to how much you contributed, although the game will often award additional points due to latency in the tracking of all players actions. Golden Trophy is comprised of seven different enemy variations.
Enemy Point Values:
| Goblin | 450 |
| Imp | 500 |
| Elite Goblin | 850 |
| Elite Imp | 850 |
| Barrel Knight | 1,500 |
| Elite Barrel Knight | 2,000 |
| Goblin King | 5,500 |
Golden Trophy has several triggers around the levels which if entered, will spawn additional enemies that the player will have to kill. Players can complete the level without spawning these enemies, however, the game will not award points for these enemies unless a player kills them. Additional enemies can be found in:
| Act | Enemies | Total Point Value | Location |
|---|---|---|---|
| Act 4 | 4 Goblins | 1,800 | Act 4 has two tunnels to the right and left of the level which, if entered, will spawn two additional goblins in the entrance of the tunnel. |
| Act 6 | 2 Elite Goblins | 1,700 | Act 6 has a tunnel on the left side of the area when you first enter. Several enemies spawn in there throughout the gameplay of the level, however, if a player enters past the entrance of the tunnel then two elite goblins will spawn at the entrance. |
Just like Crimson Cauldron, Golden Trophy has a spot on act 7 which has a random chance of spawning additional enemies when in the maze section of the act.
At the end of the run, the total gold score of all teammates put together determines the Quest Rating of your team, and the reward rank you get. These ranks consist of S, A, B, and C. C rank is 0K-100K Gold, B is 100K-125K Gold, A is 125K-150K Gold, and S is 150K+. The maximum gold you can get is slightly over 180k.[]
Update History[]
| February 10, 2017 | The quest made its original debut in Rec Room. |
| December 2018 | A mini update added back holsters to the quest. |
Tips[]
- There are two ways to glitch in items at the start of the game.
- After Coach says "Game On!", you can pick up an item of your choice. Please note that this bug will have the item stuck to your hand until you go to the next level.
- When you start the game and the countdown on the scoreboard is 0, you have to put it on your back. This method is significantly harder on screen mode.